
Cruising for the First Time? Here’s What to Do Before and After You Board
Cruising has continued to skyrocket in popularity since the pandemic, with 37.1 million passengers expected to sail globally in 2025! Over the past two years, approximately 27% of cruisers were first-timers. Plus, seven new cruise ships are debuting this year alone—so there’s never been a better time to book a cruise for your next vacation.
If you’re new to cruising, stepping onboard for the first time can feel overwhelming. Cruising is a unique way to travel, and first-time cruisers often have a lot of questions about how to get the most from their experience.
Before diving into what to do once you board, let’s start with a few essential tasks to complete before arriving at the cruise port—and a quick look at what to expect at the terminal.
A. Download the cruise line app after booking your cruise. After booking your cruise, download the cruise line’s app and log in or create an account. The app provides pre-cruise information, allows you to purchase add-ons (like excursions and drink packages), and streamlines the check-in process. While the website is also useful, the app becomes essential once onboard. You’ll need it to:
-
Connect to the ship’s Wi-Fi
-
Access the daily schedule
-
Watch the mandatory safety video
-
Manage expenses and reservations
-
Use onboard messaging (if available)
Additionally, your boarding documents (eDocs) will be accessible through the app—so make sure it’s downloaded and ready before you arrive at the port.
B. Complete online check-in before heading to the port. Complete the online check-in process via the cruise line’s app or website. This typically opens 30–45 days before your sail date (exact timing varies by cruise line). Online check-in usually closes 2-3 days prior to sailing. During check-in, you’ll:
-
Enter personal and travel information
-
Upload your passport or required travel documents
-
Take or upload a selfie (required for boarding)
-
Add a payment method
-
Choose a boarding time
Check-in must be completed for each passenger. It’s usually simple to complete for all guests on the same reservation. Most systems let you enter basic info early and return later to upload documents.
Don’t forget to complete the mandatory health questionnaire, usually available 24 hours before sailing. Failing to complete online check-in means you’ll need to do it all at the port—delaying your boarding and likely assigning you the latest arrival time. If you’re working with a travel advisor like me, I’ll notify you as soon as check-in opens 🙂
C. Print luggage tags & attach to bags. Your luggage tags can be found in your eDocs, usually 30 days before sailing. These are specific to your ship, sailing date, stateroom, and deck. Some cruise lines may email luggage tags to you. If you forget them, porters at the terminal will have generic tags. Make sure to have your stateroom # handy.
While not required, luggage tag holders are handy to ensure your luggage tag doesn’t get ripped off in transit to the ship/your stateroom. Putting an AirTag in your luggage is also advisable just in case your luggage is misplaced. Don’t put your luggage tags on bags in advance if you’re flying. Wait until you get to your hotel room or the port.
Arrival at the Cruise Terminal:
If you’re driving to the port, covered parking is generally available for a fee. Take note of your parking location for easier retrieval after disembarkation. Taxis, rideshares, or having someone drop you off can help you save on parking fees. Terminal location will be noted in your eDocs.
After parking or getting dropped off at the designated area, you will leave your luggage with a porter. Ensure you have luggage tags attached or ask the porter for a generic tag to add your information. DO NOT leave boarding documents and ID in the luggage you give the porter! It is a common mistake for people to decide to leave a backpack, forgetting that they have their passport in the bag. You won’t be able to board!
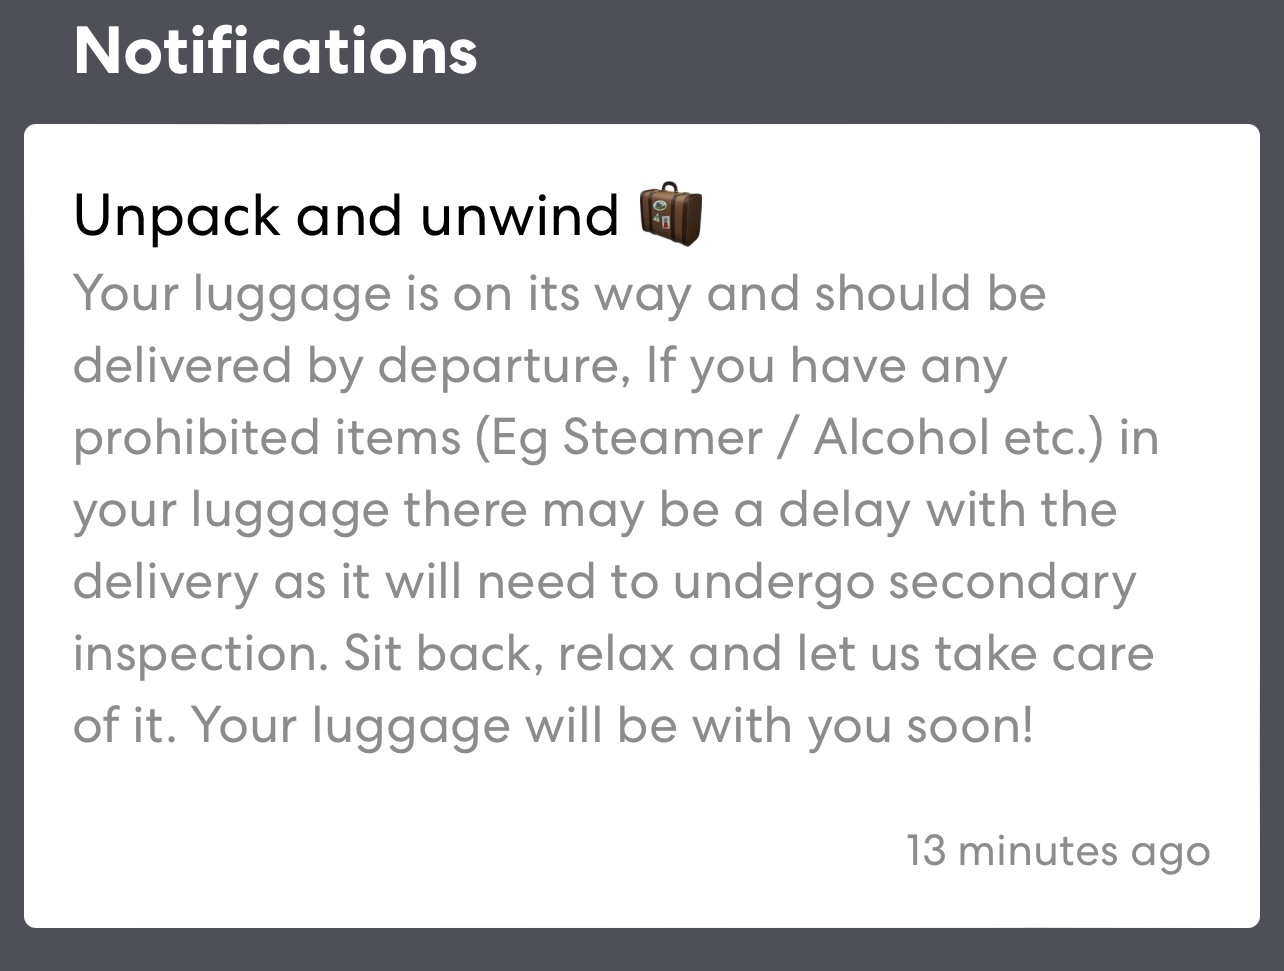
It’s also advisable to keep electronics, medications, valuables and any items you’ll need before suitcases arrive at your stateroom in the evening. You’ll also need to carry on beverages and wine (as allowed by the cruise line). Lastly, review the prohibited items list to avoid items like steamers being confiscated. This also delays luggage being delivered to your stateroom. You can carry on all luggage without leaving it with a porter, but nothing larger than airline carry on suitcases will fit through the passenger security scanners. Don’t forget to tip porters!
After dropping luggage, follow signs to enter the terminal. If you have priority embarkation, follow those signs or get in line for standard boarding. It is generally advisable to arrive close to your scheduled boarding time. Some cruise lines are more lenient than others regarding early boarding. After waiting in line to enter the terminal, follow the signs/other passengers to the standard or priority security line. Just as in an airport, passengers and bags go through X-ray. Don’t worry about not knowing where to go. You’ll always find crew available to answer any questions.
After clearing security, follow the flow of passengers (usually upstairs) to check-in. The exact process and set-up will vary by cruise line but essentially, you’ll be directed to a line to officially check-in for boarding. This is where you’re ID is verified and check-in is completed (such as a photo, adding payment information, etc.) if everything wasn’t completed during online check-in. Some lines such as Royal Caribbean have a dedicated Express line for those that accurately completed online check-in & completed the medical form. You’ll see Express noted on your SetSail pass and you breeze through the line only having to show your passport or other required ID to crew.
You’re almost on the ship! Once check-in is complete, you’ll get in line to board the ship. The crew is there to point you in the right direction. Your SetSail Pass or SeaPass will be scanned. Some cruise lines provide your SeaPass card at check-in, some give a bracelet or activate a Medallion that is your SeaPass. Other lines will have SeaPass cards at your stateroom door, so you’ll use a SetSail pass to scan at the ship for boarding. Security will be waiting to scan your card at their kiosks. They will verify your identity with the photo that pops up on their screen.
Then it’s up the gangway—you’re officially on vacation!
Each cruise line has slightly different procedures, so you’ll also want to read ship specific information. I’ve listed tips & tricks for various cruise lines at the bottom of this post. Now let’s get into what to do when first boarding a cruise ship, so you’ll be a more savvy cruiser.
What to Do When First Boarding a Cruise Ship
The first few steps are mandatory, while others depend on your personal preferences and travel style. Review this list before your cruise and check off what applies to you.
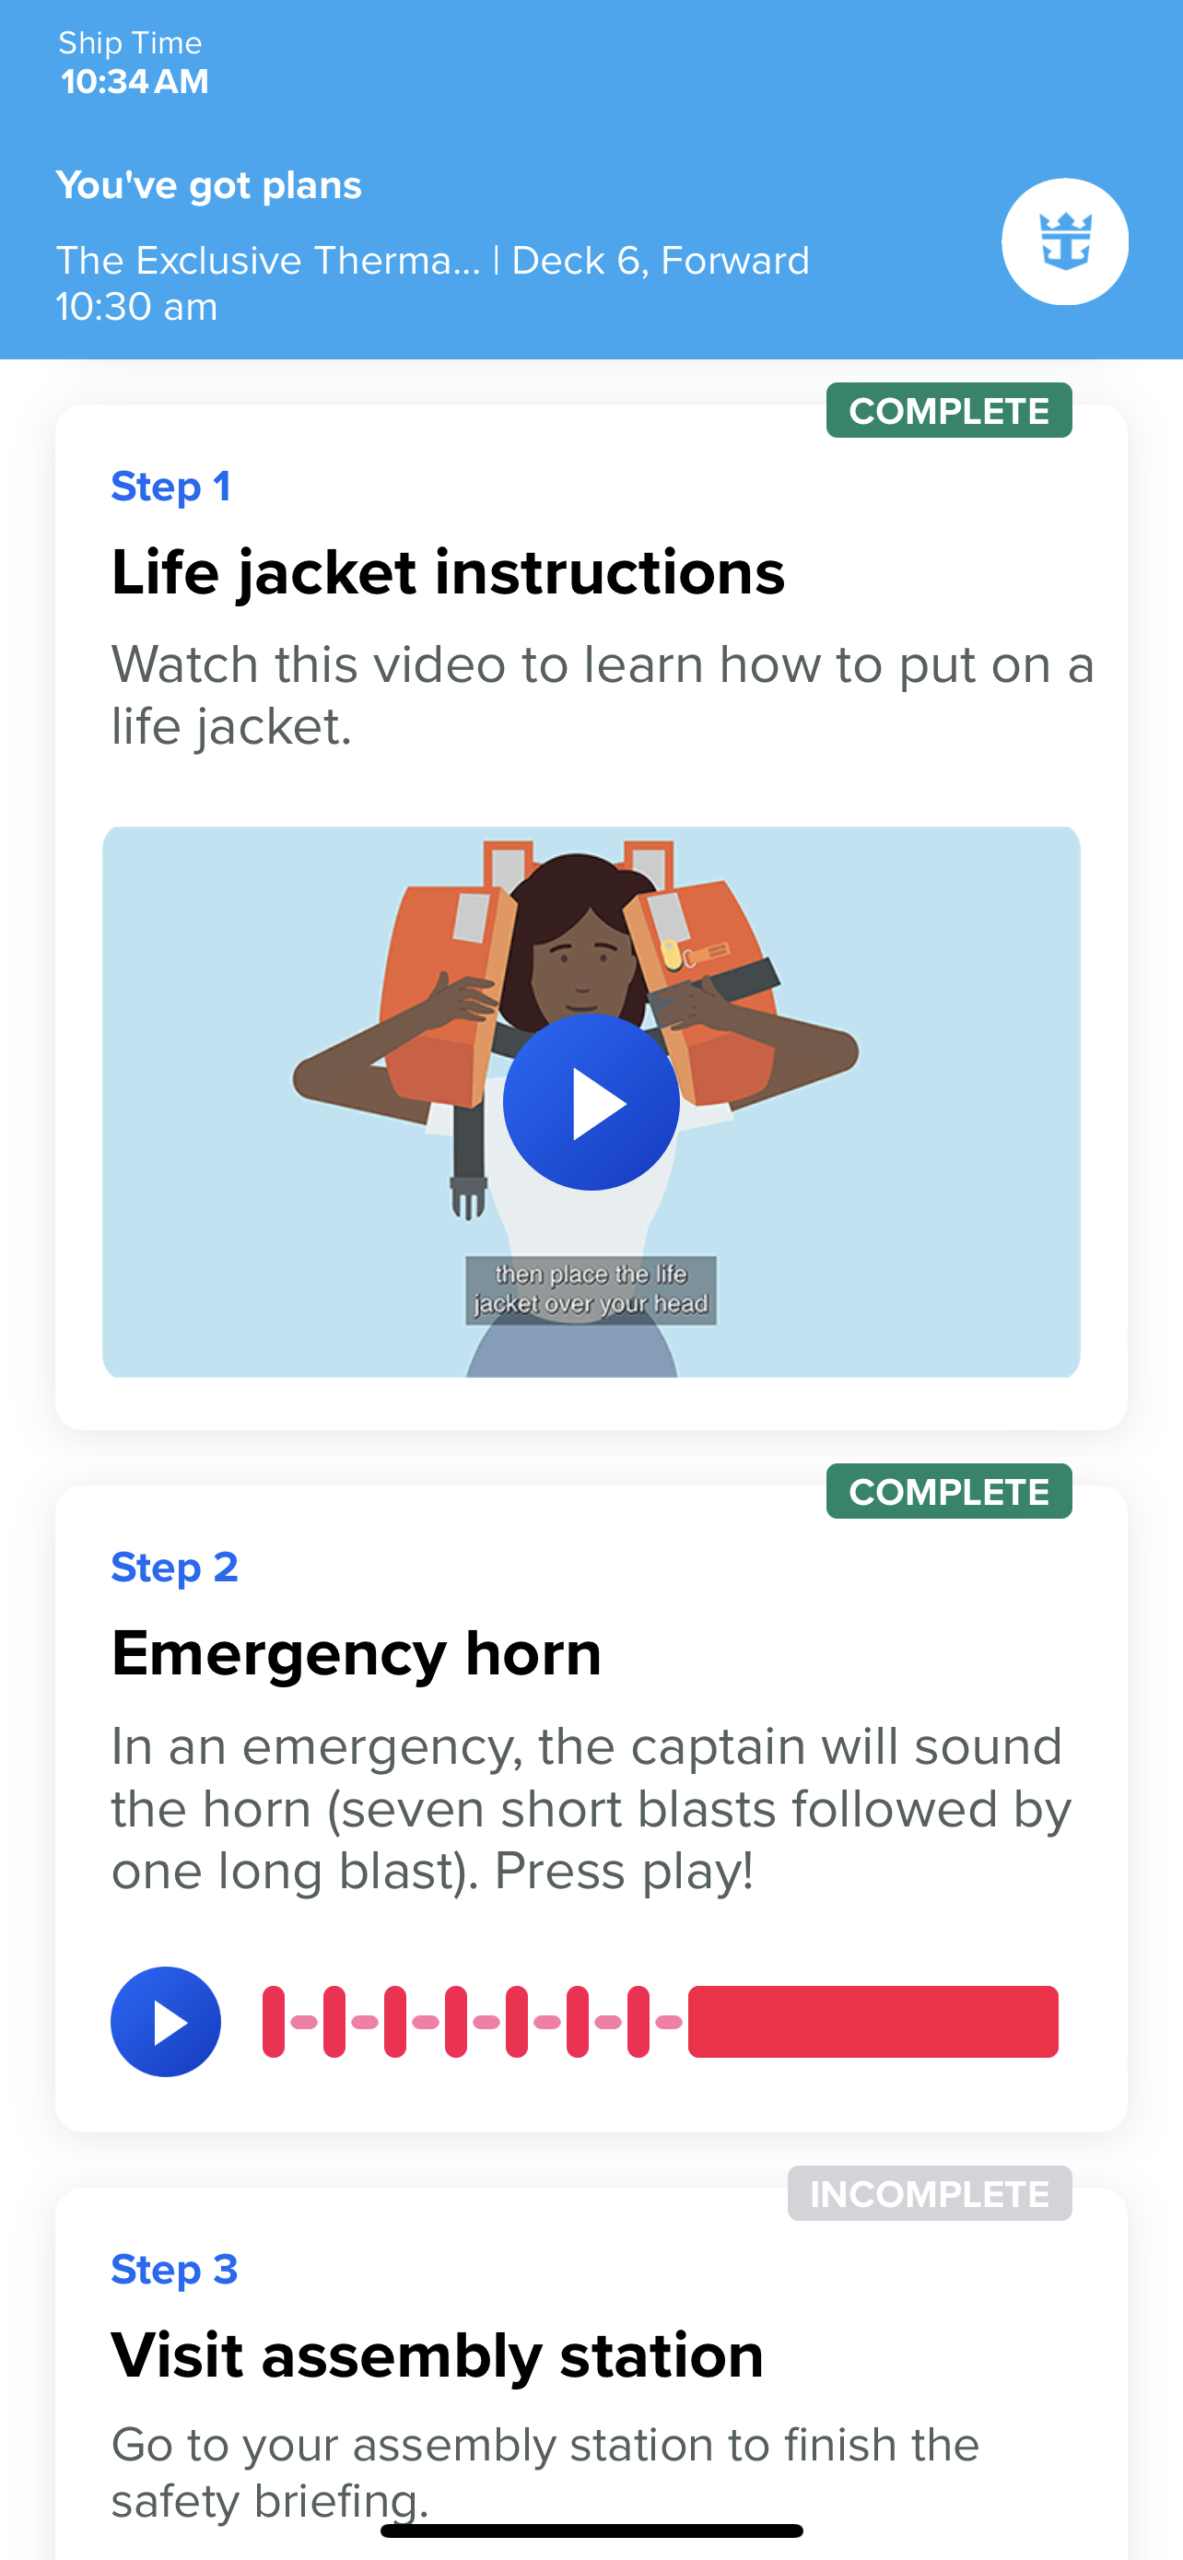
1. Watch the mandatory safety video. The safety video provides important information regarding ship procedures, how to wear the life jacket, and everything you need to know in case of an emergency on board. Depending on the cruise line, the video will be available to watch in the app the morning of embarkation or once onboard and connected to ship WiFi. The safety video will also be available via the stateroom TV. Be sure to mark it as completed as directed. Crew members at muster stations can assist if you encounter technical issues.
2. Check-in at your assigned Muster Station. Your muster station is listed on your SeaPass card and the back of your stateroom door. You must check in with crew to verify that you’ve completed the safety requirements. The ship cannot sail until every passenger has completed this requirement. You don’t want to be the person they are paging over the intercom system and delay sail away.
3. Make dining reservations. Depending on the cruise line or specialty dining package purchased, you may need to make reservations once onboard. This tip is very cruise line specific, so research what you need to do (if anything) in advance. You may even be able to make these reservations in the app, again depending on the cruise line.
Examples:
- Head to Razzle Dazzle on Virgin Voyages if you were unable to make reservations in advance (more reservations will now be available in app as well).
- If you purchased an unlimited specialty dining package for Celebrity, you’ll need to make those reservations on board. Individual and 3 night packages are open for reservations at the time of purchase.
- You don’t need to make reservations for the Main Dining Room (MDR) as dining assignments are selected at the time of booking – either early, late or My Time.
- If you’d like to change your assigned dining time or reserve seating (such as you know you want to always dine at 6pm and NCL only offers Any Time dining), head to the MDR and crew will be able to assist you.
Refer to your cruise line’s policy in advance so you’re prepared.
4. Depending on the cruise line and your boarding time, you may be able to drop off carry-on luggage in your stateroom. This is another ship specific tip and can also vary by stateroom category. The typical time for staterooms to be available is between 1-2pm. A few examples – Virgin Voyages starts boarding later than other lines, so staterooms are available immediately after boarding. Celebrity allows passengers to drop carry-on bags in their stateroom, grab SeaPasses then leave the area (staterooms aren’t ready until 1pm). Royal Caribbean and NCL ask passengers to stay out of staterooms and hallway doors may be closed until staterooms are available. An announcement will be made when staterooms are available. Purchasing The Key with Royal Caribbean or those sailing in certain suites may have specific carry-on drop off locations available.
5. Get lunch at one of the open venues. All cruise lines will have their buffet open for lunch at the time boarding begins or soon thereafter. The buffet will offer the greatest variety of dishes and is the go to spot for cruisers to eat their first meal. However, the buffet can get extremely busy on embarkation day. Depending on the ship, there may be other options available. Disney cruise line offers an included sit down lunch in one of their main dining rooms (the venue depends on the ship). On Royal Caribbean the Solarium Bistro will be open and is another free dining option with less crowds. Many ships will have quick service restaurants open to grab a sandwich or salad.
Royal Caribbean passengers with The Key and Celebrity Concierge Class stateroom guests will have a dedicated included lunch in one of the MDR’s. NCL suite guests can dine at Cagney’s Steakhouse while select suite guests on other cruise lines may have other included dining options on embarkation day. Another option is to dine at a specialty restaurant. This is a paid option and usually only 1 or 2 specialty restaurants will be open for lunch. I’d suggest booking in advance, but you will likely find walk-in availability if boarding early.

6. Grab a drink and relax. Whether it’s a cocktail, mocktail, or water, find a spot to unwind. You can charge drinks to your account using your SetSail Pass or by providing your stateroom number if you haven’t received your SeaPass yet. Drink packages are also valid once you embark.
7. Explore the ship and familiarize yourself with the deck plans. Even veteran cruisers need to orient themselves to what’s available on each deck. This can also be great time to snap photos or take videos of areas that will be crowded once all passengers have boarded. Planning on a spa treatment? Take a look at the spa and get scheduled. Find the theatre for the nights show, walk to the dining room you have booked for the first night or simply wander outside on the decks and take in the sea breeze.
8. Lounge by the pool or go for a swim. Pools will typically be open when guests board or around noon after cleaning has been completed. If you’ve packed swimsuits and necessary pool attire in your carry-on, grab a chair and take a dip. This is especially great if traveling with kids as they will likely be ready to try the AqauDuck on Disney for example. Of course, not all embarkation ports and time of year will be conductive to swimming and sunbathing. Hot tubs are also an option for a quieter spot in cool weather.
9. Reserve seating for the shows, if necessary. Depending on the ship, reservations may be needed for evening entertainment. These are usually made in advance but can sell out. The Cruise Planner will list what time the Box Office is open. You can still watch the shows without at reservation but there will be a line and available space can be limited.
10. Register for the kids club. Are you traveling with kids? You’ll need to get them signed up for the kids club on embarkation day. Check the Cruise Planner for registration times.
11. Pickup your Souvenir soda cup, if applicable. Available at the bar if you purchased a package that includes it such as Royal Caribbean. While you don’t need to do this immediately, you’ll want the cup to use soda stations onboard. Disney and Virgin Voyages include soda, so souvenir cups aren’t needed.
12. Put your cellphone in airplane mode before sail away. Before sail away, switch your phone to airplane mode or turn off cellular service to avoid roaming charges.
13. Add cash to your account at Guest Services, if desired. Some sailors prefer to pay in cash instead of credit card. While I recommend a credit card over a debit card and even cash for simplicity and time saving, not everyone likes to use plastic. If adding cash to your account, I would make this #3 on your to-do list. Guest Services will get busy on embarkation day, so you want to add cash to your account early. Don’t forget you’ll need to “top off” throughout the cruise depending on your spend. You’ll also have to get in line again before disembarkation to settle your account and get a refund of cash not spent. Guest Service will explain the process.

14. Start browsing the Cruise Planner in the app. Use the app to check daily events, showtimes, and onboard activities. Be sure to check the time for the Sail Away party!
15. Confirm all dining, show, excursion, spa and fitness reservations have been made. Double-check all dining, show, excursion, and spa bookings. Make any needed changes or additions now before availability runs out.
If you have access to the thermal suites, you’ll need to visit the spa to reserve times. You’ll also want to reserve treatments in advance as popular times will fill up on sea days. If you want to try a Bungee class on Virgin Voyages, make that reservation in app as soon as possible once on board as classes fill up quickly. Laser Tag and Ice Skating times on Royal Caribbean also fill up quickly, so I highly suggest booking those ASAP as well. You may also decide to swap dining reservations to fit with desired showtimes. After boarding is the perfect time to ensure everything is scheduled.
16. Log into your internet package. If you’ve purchased internet access, now’s a good time to connect. Visit the help desk if you need assistance.
17. Unpack your luggage and organize your stateroom. Once staterooms are available and luggage arrives (typically between 5-8pm), unpack suitcases and slide them under the bed. Not everyone likes to completely unpack, but I feel more comfortable once I have all my belonging stashed away. Not sure what to pack? Check out my printable packing list for cruise vacations. It includes over 26 things to pack for a cruise.
Not everyone prefers a highly scheduled cruise experience—and that’s okay! If you like to go with the flow, you can skip many of the reservation-related tips. Just don’t forget to register the kids and complete the safety requirements.
I hope this guide has been helpful in setting expectations from arrival at the port to your first few hours onboard. Relax and enjoy your cruise—you’ll likely be hooked after your very first sailing!
Have tips of your own for embarkation day? Share them with me!


Leave a Reply